Journey Mapping
09/05/22 | A. Understanding User Needs | All Guidelines and DocumentationVersion 1.0
User journey mapping is creating a visual story of the users’ interactions with a service. It may include many transactions across organisations needed for the user to achieve their outcome.
Journey mapping is different to creating a flow diagram because it is focused on a user’s perspective. You may need to create various maps for different user groups.
Mapping the user’s journey helps us to understand:
- the steps involved for both users and administrators
- where there are missing steps, unnecessary steps, and common pain points
- how we might create an optimised and personalised user experiences
- user expectations against the experience they receive
- how a logical order to the user journey could look
- Is a useful way of understanding the problem from a user’s perspective
- how a service works, empowering a team to make decisions, and reducing reliance on subject matter experts
How to make a user journey map
To start making a user journey map, first, you will have to gather information and experiences from the users.
1. Identify potential users
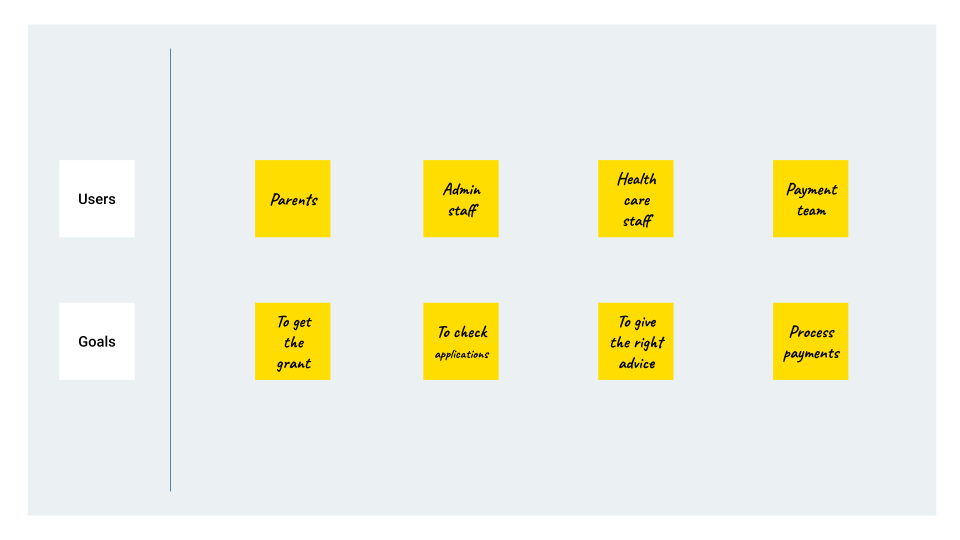
List the people who interact with your service and what their main goal is. Understanding their goals will help to identify unnecessary steps in your journey, if it doesn’t help them achieve the goal then should it exist?
Identify a user whose journey you will map. Most journey maps are created from an end-user’s perspective.
2. Plan your map (tools, rows etc)
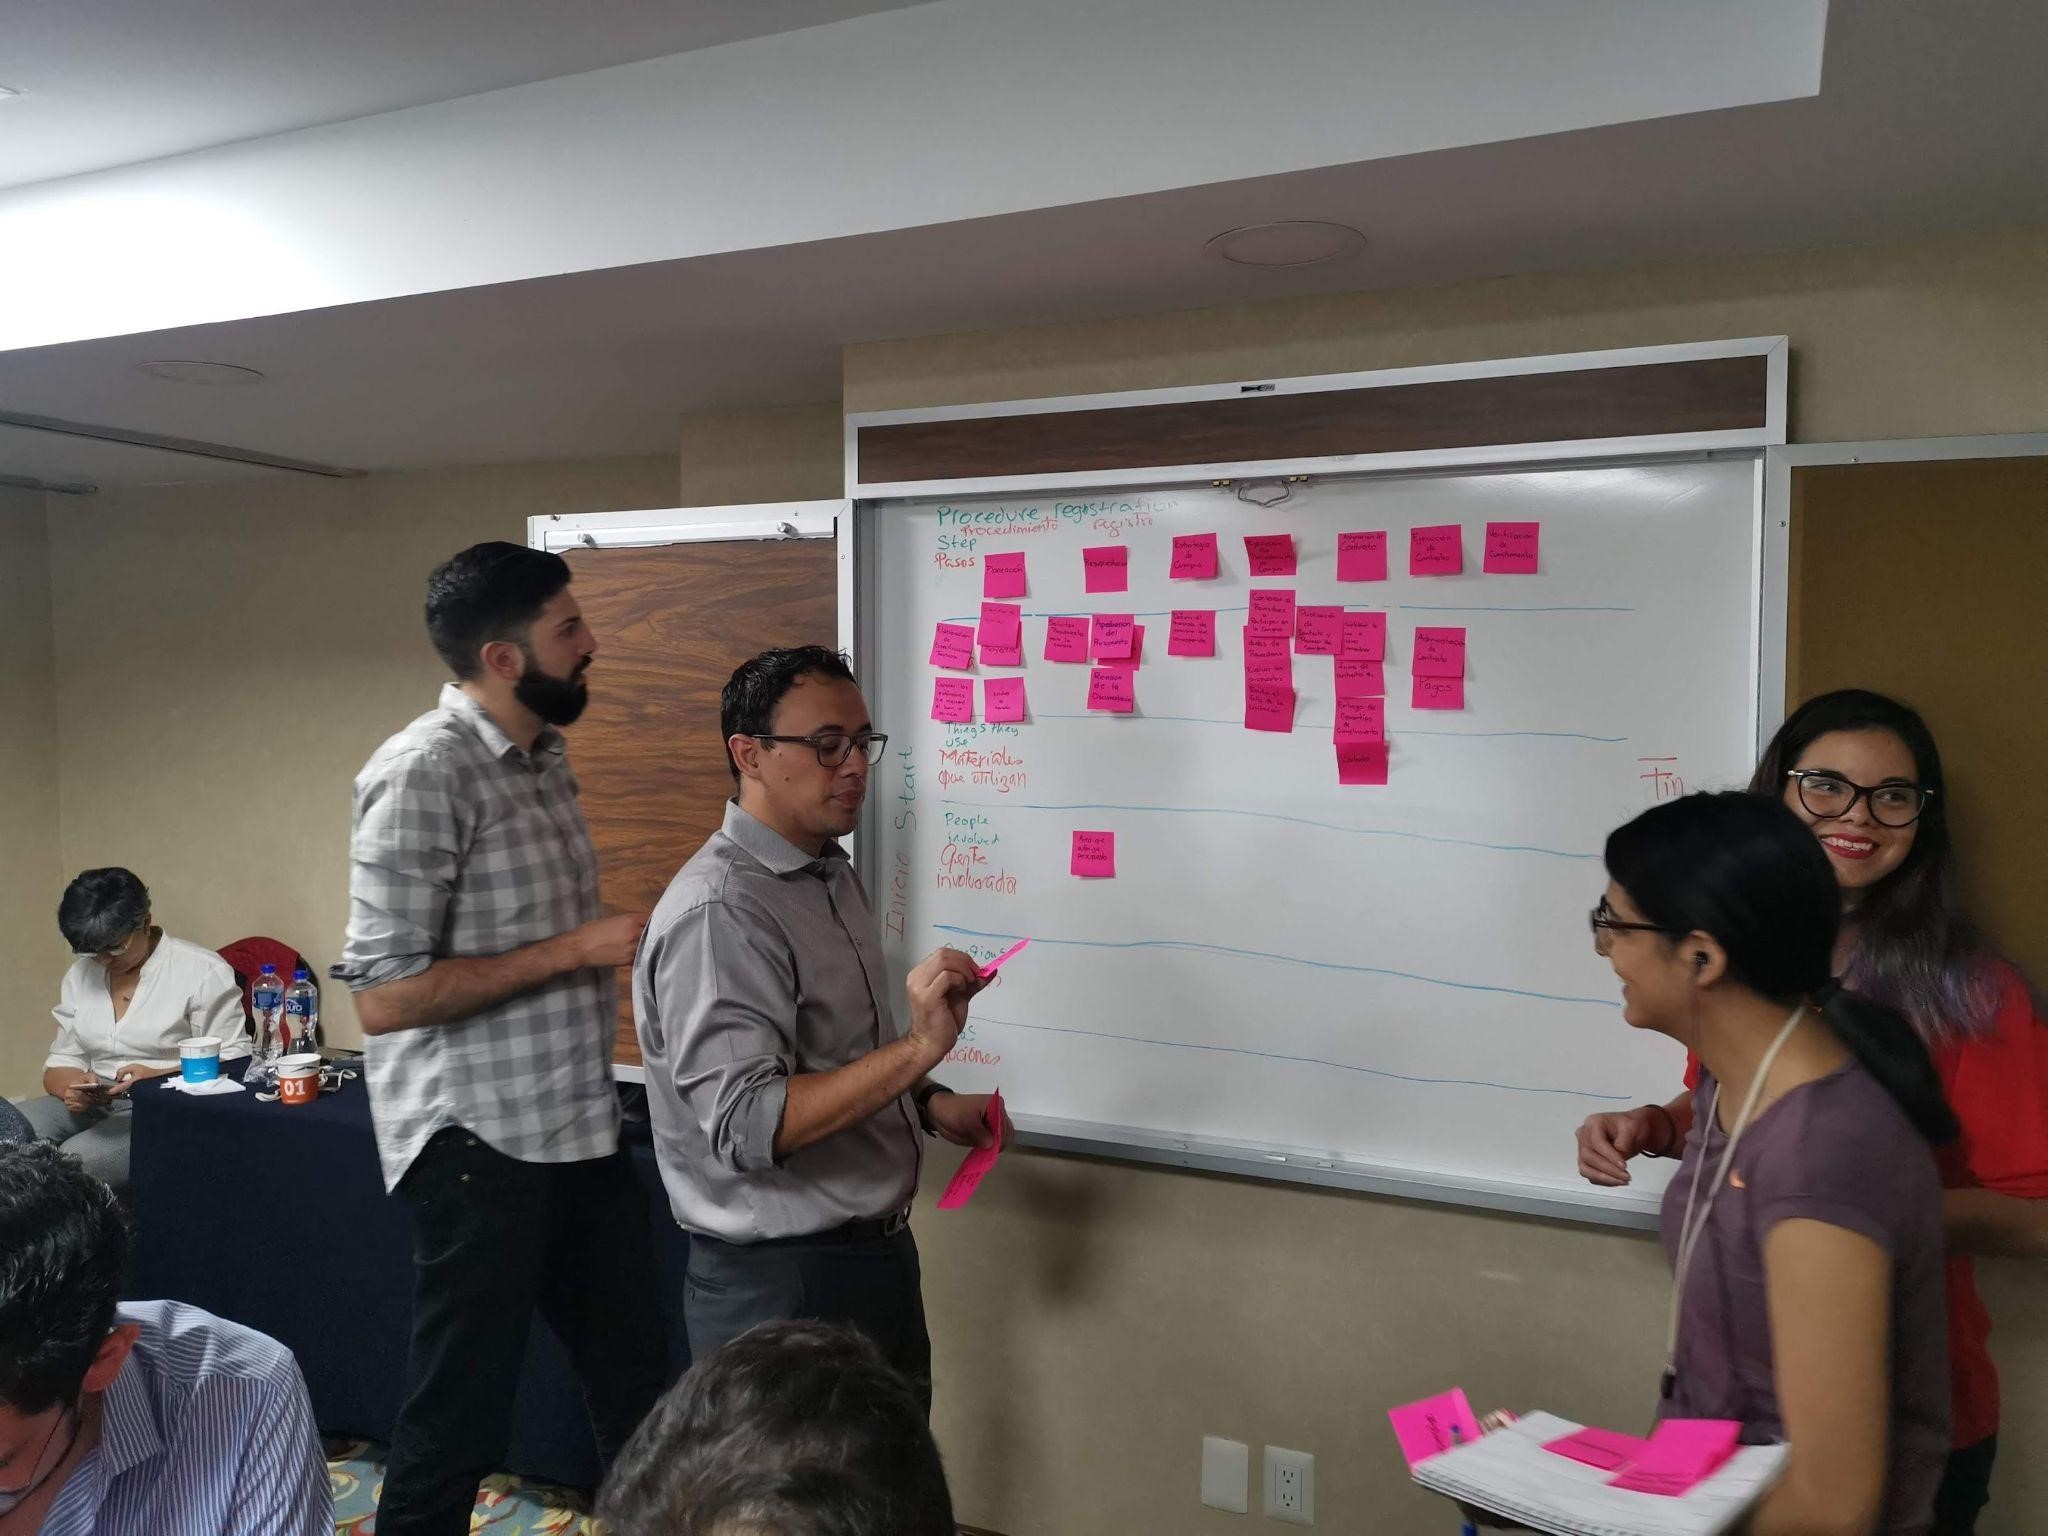

Plan what tools work best for you, if you are in person you might use a blank wall and post-it notes, if it is remote you may choose an online tool like Mural.
Consider what information you’ll need to collect to be able to make decisions about how to improve your service, for example, if one of your goals is to reduce the time staff spends on admin work, you might collect the time each step currently takes for them. Often you’ll want to collect things like:
- Steps
- People involved
- Touchpoints (things users interact with)
- Pain Points
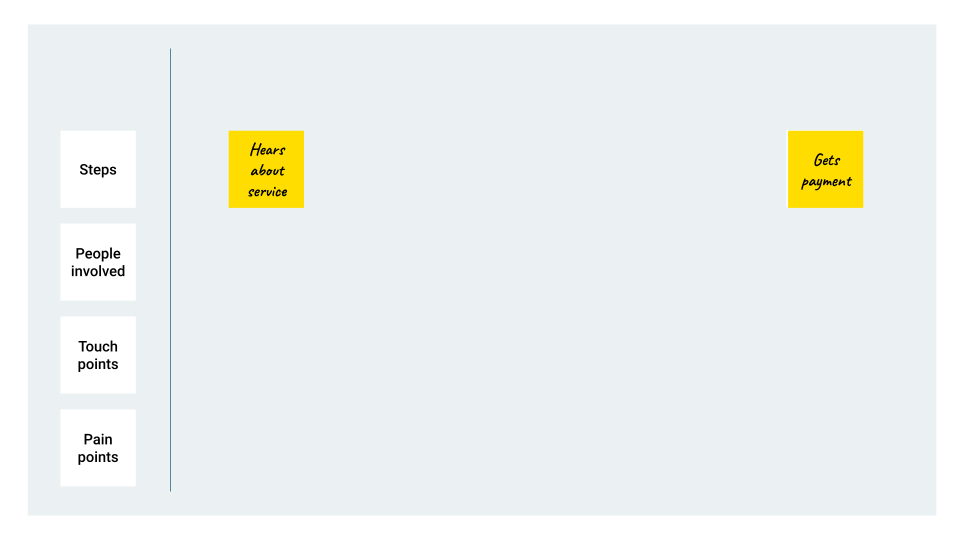
List these headings on the vertical axis then you are ready to add the first and last action your chosen user takes to achieve their goal to the steps row.
Here is a useful template you can use for your projects.
3. Research
3.1. Identify how things work now
Gather your team and subject matter experts together and map out all the steps the user has to take to achieve their goal, fill in the other rows if possible.
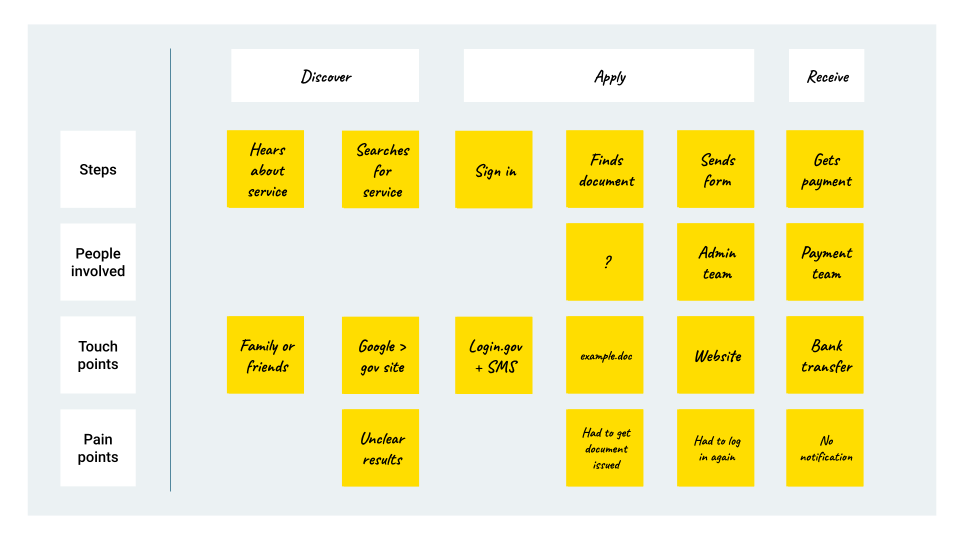
Identifying how things work now is a useful starting point for the project. It can help define the scope of user research and pull out assumptions from business stakeholders about internal processes.
3.2. Understand the journey from a user’s perspective
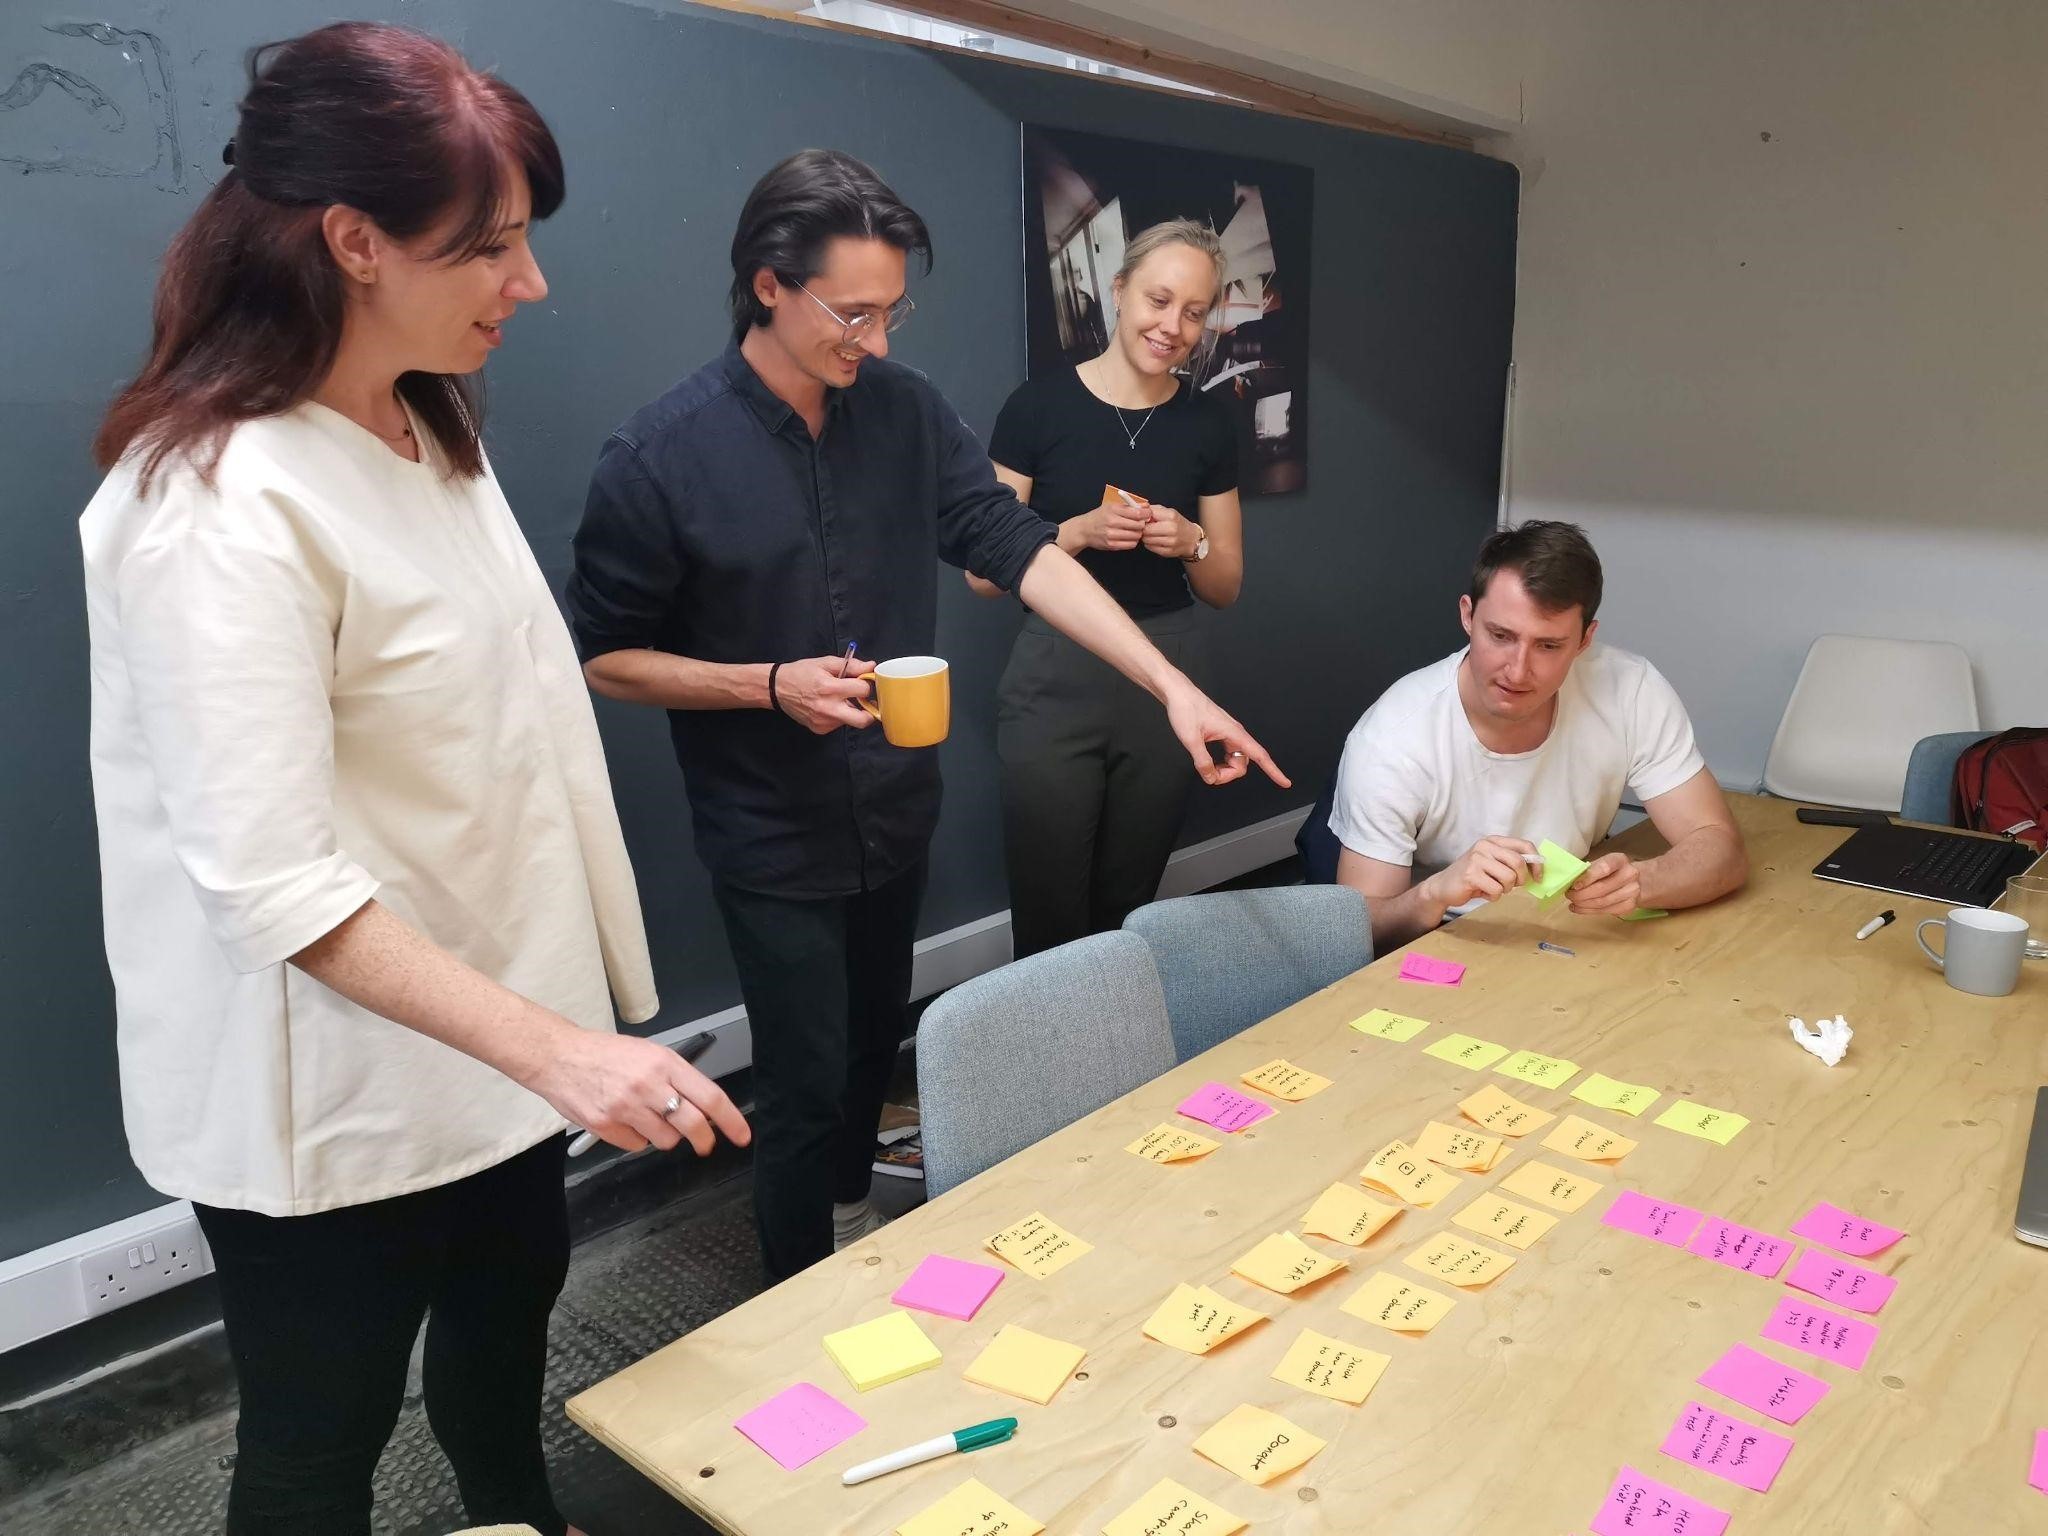
Successful user journey maps are based on good user research, rather than made up based on assumptions by stakeholders or team members. They should match users’ experience. The user research-based journey map:
- gives you your starting point from which to begin your design work
- helps you capture and synthesise the current experience of real users
- shows how things work (or don’t) and what the interdependencies are
- highlights pain points and where things are broken
- uncovers the most significant opportunities for change
This user research-based journey map should be about what happens, find out pain points, and look for solutions.
4. Prioritise the next steps
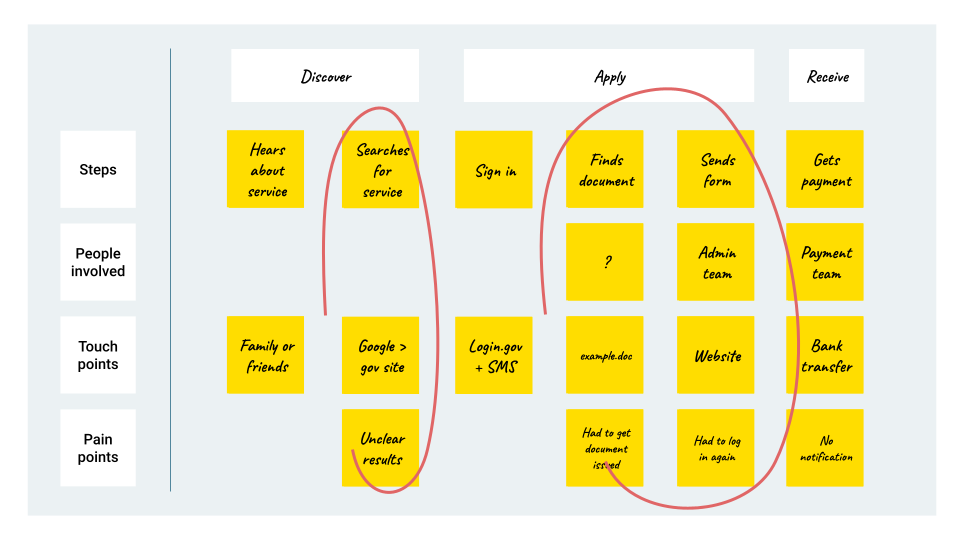
The next steps can also be used as a working document or communication tool at different points in a project to help:
- you to build and develop without losing the thread or forgetting the user’s point of view
- build a consensus about what you’re aiming for
- flag up who you should be talking to about changing other aspects of the service
- to show how stuff should work and how things will be connected
- for convincing people about things that need to be done
- for building a roadmap for delivery